Having your WordPress blog installed locally gives you tons of relief. It will save you a bunch of time if you regularly test or develop themes and plugins. You are free to do customization without fear of loosing anything because you blog is safe on server and you are just messing around with the local copy of your valuable blog.
Here i am going to show you how you can setup you blog locally (on localhost) on your PC. I will use XAMPP for this.
What is XAMPP?
WordPress isn’t a stand-alone application and needs server software to run. It needs a server software like Apache , Php scripting language and MySql Database software.
XAMPP includes all these software and makes your PC to run like a server. XAMPP stand for cross-platform, Apache, MySQL, PHP and Perl. It’s a simple and lightweight solution that allows you to create a local web server for testing purposes.
Install XAMPP
First of all install XAMPP on your system.
Go to the Apache Friends website and download XAMPP.
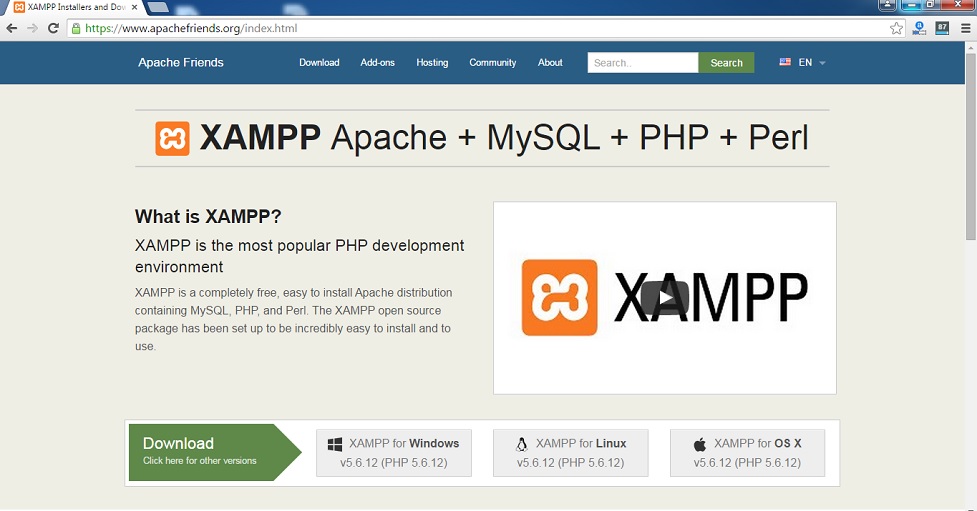
The XAMPP file size is 110MB. Once downloaded, launch the installer.
You may receive warnings about installing the software on your computer. Click on OK.
The XAMPP setup wizard will guide you through the installation.

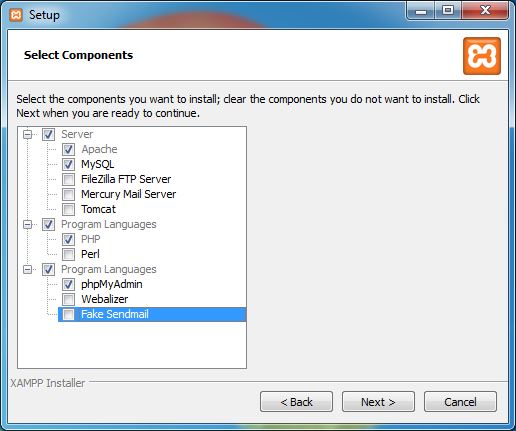
In the next window you will be asked to select which components of the software you would like to install. Here we’ll install WordPress on localhost and that requires MySQL, Php and Apache, we’ll select MySQL and phpMyAdmin and leave remaining unchecked. Apache and PHP are greyed out because they are essential to running the software and they are installed by default.
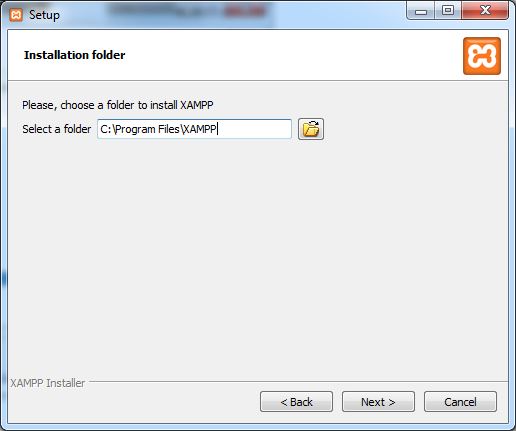
Next, select the folder where you would like to install XAMPP.
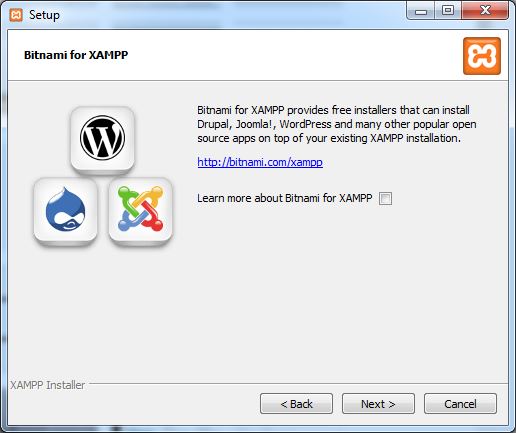
Uncheck “Learn more about Bitnami for XAMPP” and click “Next.”
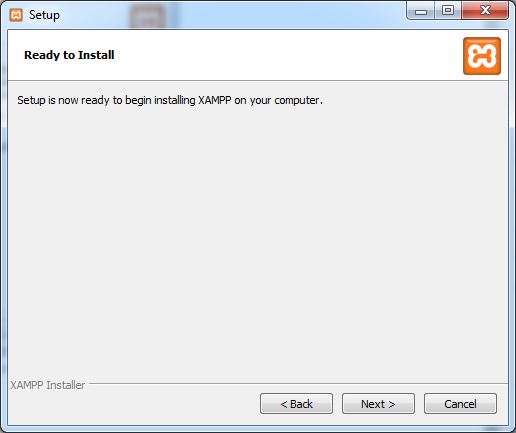
After going through all those options, XAMPP is now ready to install.
Once installed, you’ll be asked whether you would like to start the Control Panel. Leave this option checked and click “Finish.”

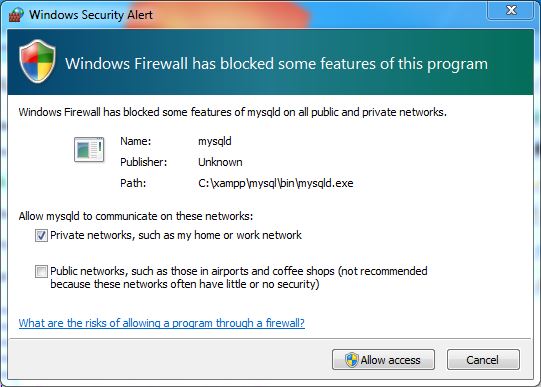
If you receive any security/firewall warnings during the installation process, then check “Private networks, such as my home or work network” and click “Allow access.” This is very important otherwise XAMPP won’t work.
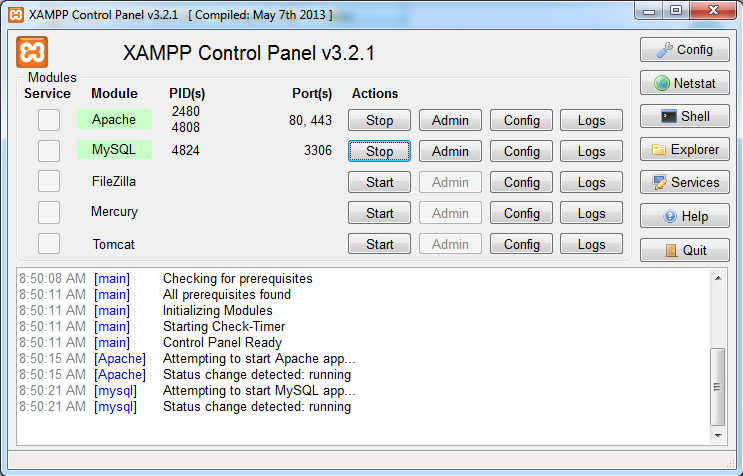
If you left “Do you want to start the Control Panel now?” checked during XAMPP installation, the Control Panel will automatically open. If not, go to the XAMPP installation folder on you computer and open “XAMPP Control Panel”. You can also find this option in Start menu.
Visit http://localhost on your browser.
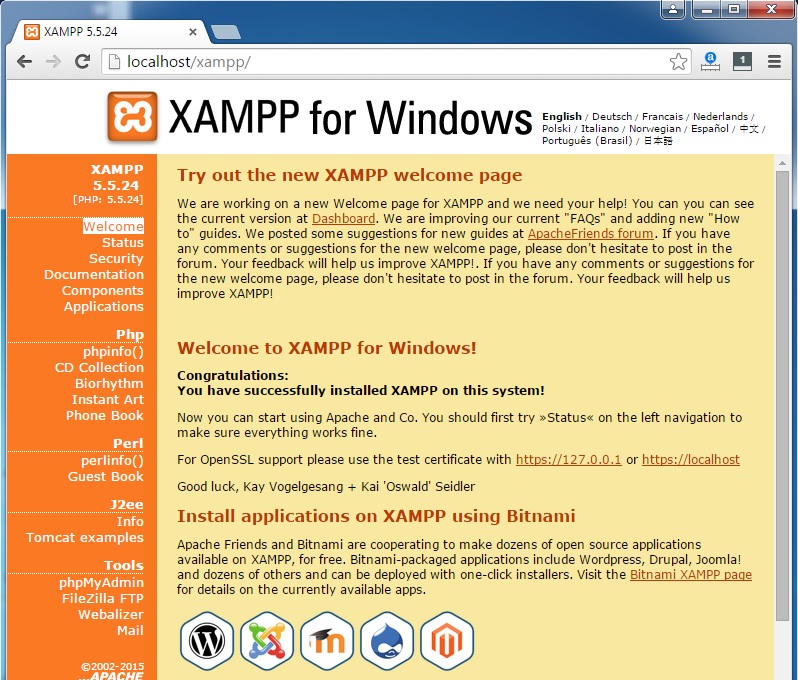
XAMPP is successfully running on your system. Now we’ll create a MySQL database for our WordPress website.
Creating MySQL Database for WordPress
On your XAMPP Control Panel, click the “Admin” button in the MySQL section. This will open phpMyAdmin interface in a new browser tab.
Click on “Databases” near the top-left and you’ll find an option to create a new database. Give it a name. I’ve called mine “Demo”. When you’ve entered a name, click “Create”. It will automatically create a MySQL database with your given name.
Download and Install WordPress
Download the latest version of WordPress. Unzip the downloaded WordPress file to XAMPP folder i.e. C:/Program Files/XAMPP/htdocs.
Rename this folder as your website name ( Example – for blogithon.com, name it blogithon). I am going to name it “Demo”.
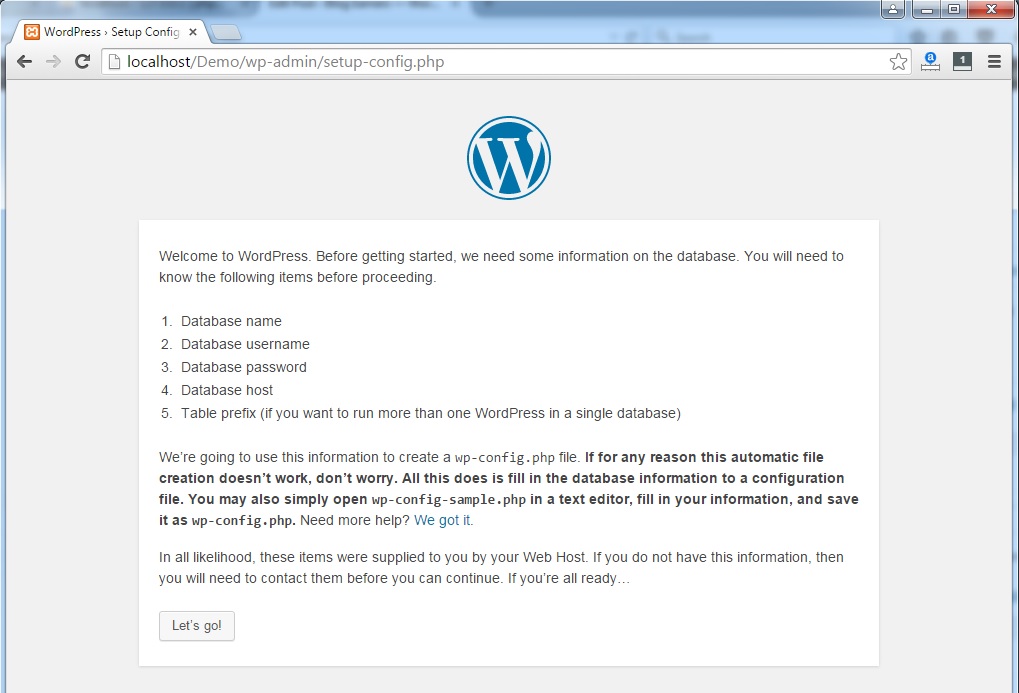
In your browser visit http://localhost/Demo/. You will get following screen. Click on the let’s Go button.
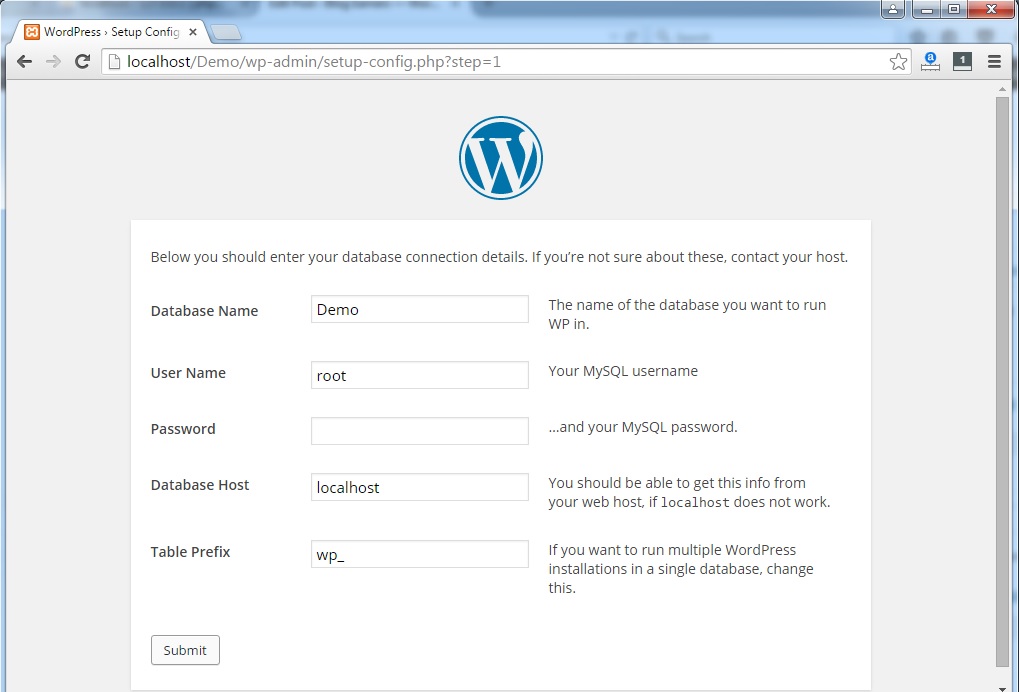
Provide the database connection information.Write username as “root” and leave password blank. After providing all information click on submit.
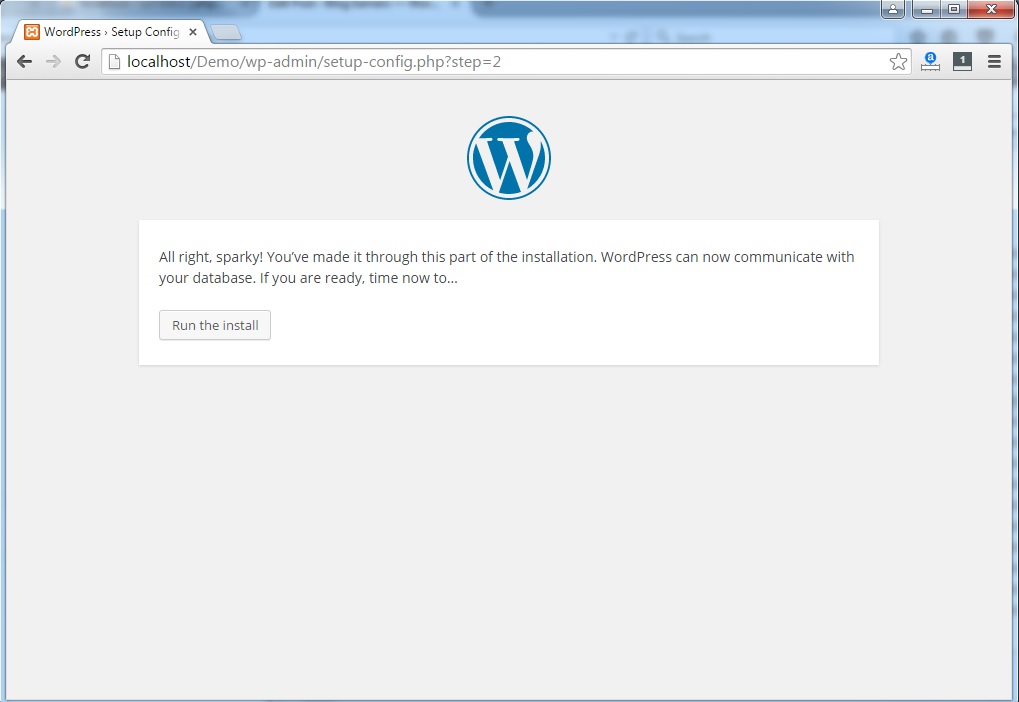
If the database connection information is correct , you would get following screen for installing WordPress. Click on “Run the install”.
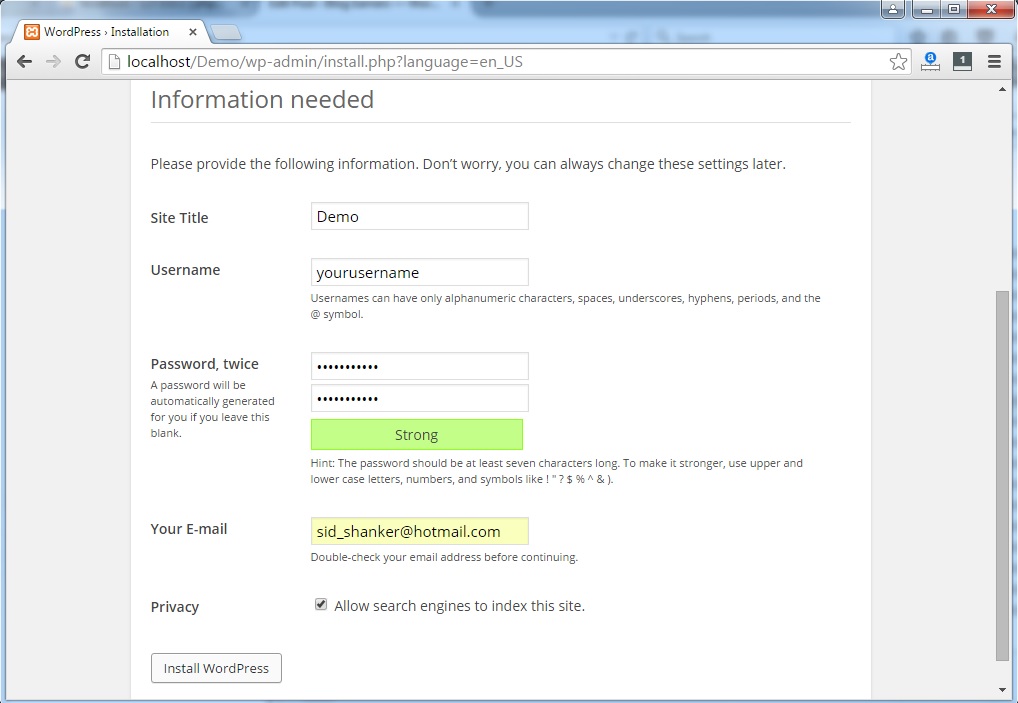
Fill the required fields as shown below. Change the website name and replace username, password and email with your own. Click on install WordPress.
After that WordPress will be installed on your system and you will get the confirmation message like this.
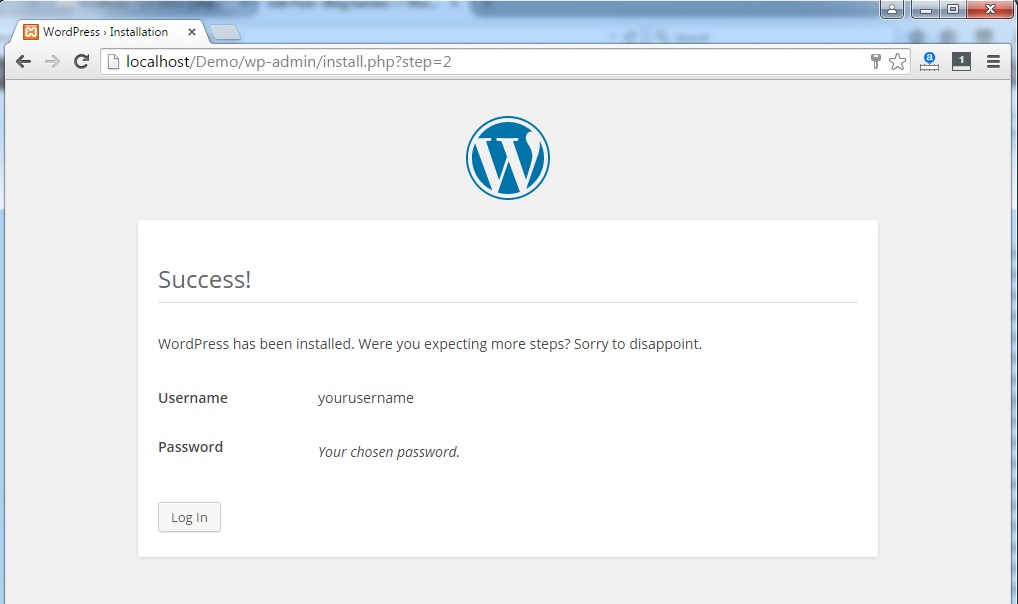
Now you can login to your locally installed WordPress blog.